Showing posts with label Sally Hansen. Show all posts

Sunday, October 21, 2012

Zoya - Charisma

Hey there, Buddies.

Today I am sharing a manicure featuring another Zoya from the Nail Mail I posted about last month. This is Zoya Charisma. The polish on my ring finger is Color Club Tweet Me, and on my pinky finger is Sally Hansen Insta-Dri Lightening.


Charisma is a very bright shade of neon magenta/red-toned purple cream. As you can tell in the photos, it is brighter in the bottle than on my fingers. What you see above is 3 coats of Charisma, with a base coat underneath and top coat on top. In true neon polish form, it dries to a satiny finish and it is a little tricky to apply without dragging bald spots. My recommendation would be to wait for each coat to dry almost completely before adding another coat. 

Next time I wear this, I might try a base of white first to see if it makes the color bright like what's in the bottle. 


Color Club Tweet Me and Sally Hansen Insta-Dri Lightening were also 3 coats of color. The first two coats of all three of these polishes were streaky with bald spots, but the third coat really made things opaque. The top coat smoothed everything over nicely and made Charisma shine like it should. I'm not a huge fan of polishes that require more than two coats because each additional coat just means more dry time, but when they are pretty like these, I suppose I can live with it. ;)


I also decided to add some of my mustache decals. I used these on one of the first manicures I ever blogged about. I'd like to think my skills have come a long way since then. 


Thanks for reading! Have a lovely day. :)

--Dixie

Monday, October 8, 2012

Frankenstein Nail Art

What's up, Buttercups?

Hooray for October and the excuse to do Halloween-themed manicures! ;)

I'm still pretty new at this. I don't think I have ever actually done Halloween nail art. So I started out slow and went with a Frankenstein fingernail.

To click or not to click...?
The nail polish I used for this Frankenstein manicure is Sally Hansen's Mint Sprint. This manicure was almost entirely my husband's idea. I think it is cute that he likes to help and I am grateful that he is supportive of my obsession. Maybe all those years of me supporting his obsession with his vehicles have paid off... :D

Anyway, we both felt that it was lacking something. We thought maybe I should add something to the other nails? Neither one of us could decide what I should do, so naturally I did nothing.


I used a Sally Hansen nail art pen to draw the black details. I'm not sure why I didn't think to take a photo of the pen. The pen is really easy to use, however, I don't typically get great results with it. You'll see what I mean on the close-up photo below. :-/


I really didn't want to post this close-up because it shows ALLLL the imperfections. The streaks and the bubbles! Not to mention the color in this photo is completely off. The other two photos are color accurate.

Although I let the nail art dry for a considerable amount of time, it still streaked when I went over it with top coat. Nevertheless, I got several compliments on my nails. The imperfections weren't very noticeable in real life, but of course you can see all the ugly details in the macro shot.

I have since stepped up my game in the Halloween nail art department and I'll work on getting those pictures up soon. Thanks for stopping by!

--Dixie

Monday, June 25, 2012

Essie Nail Polish Giveaway!

Happy Monday! ( I know, grumble grumble, I hate Mondays, grumble)

As I mentioned in my previous post, I have a surprise for you!

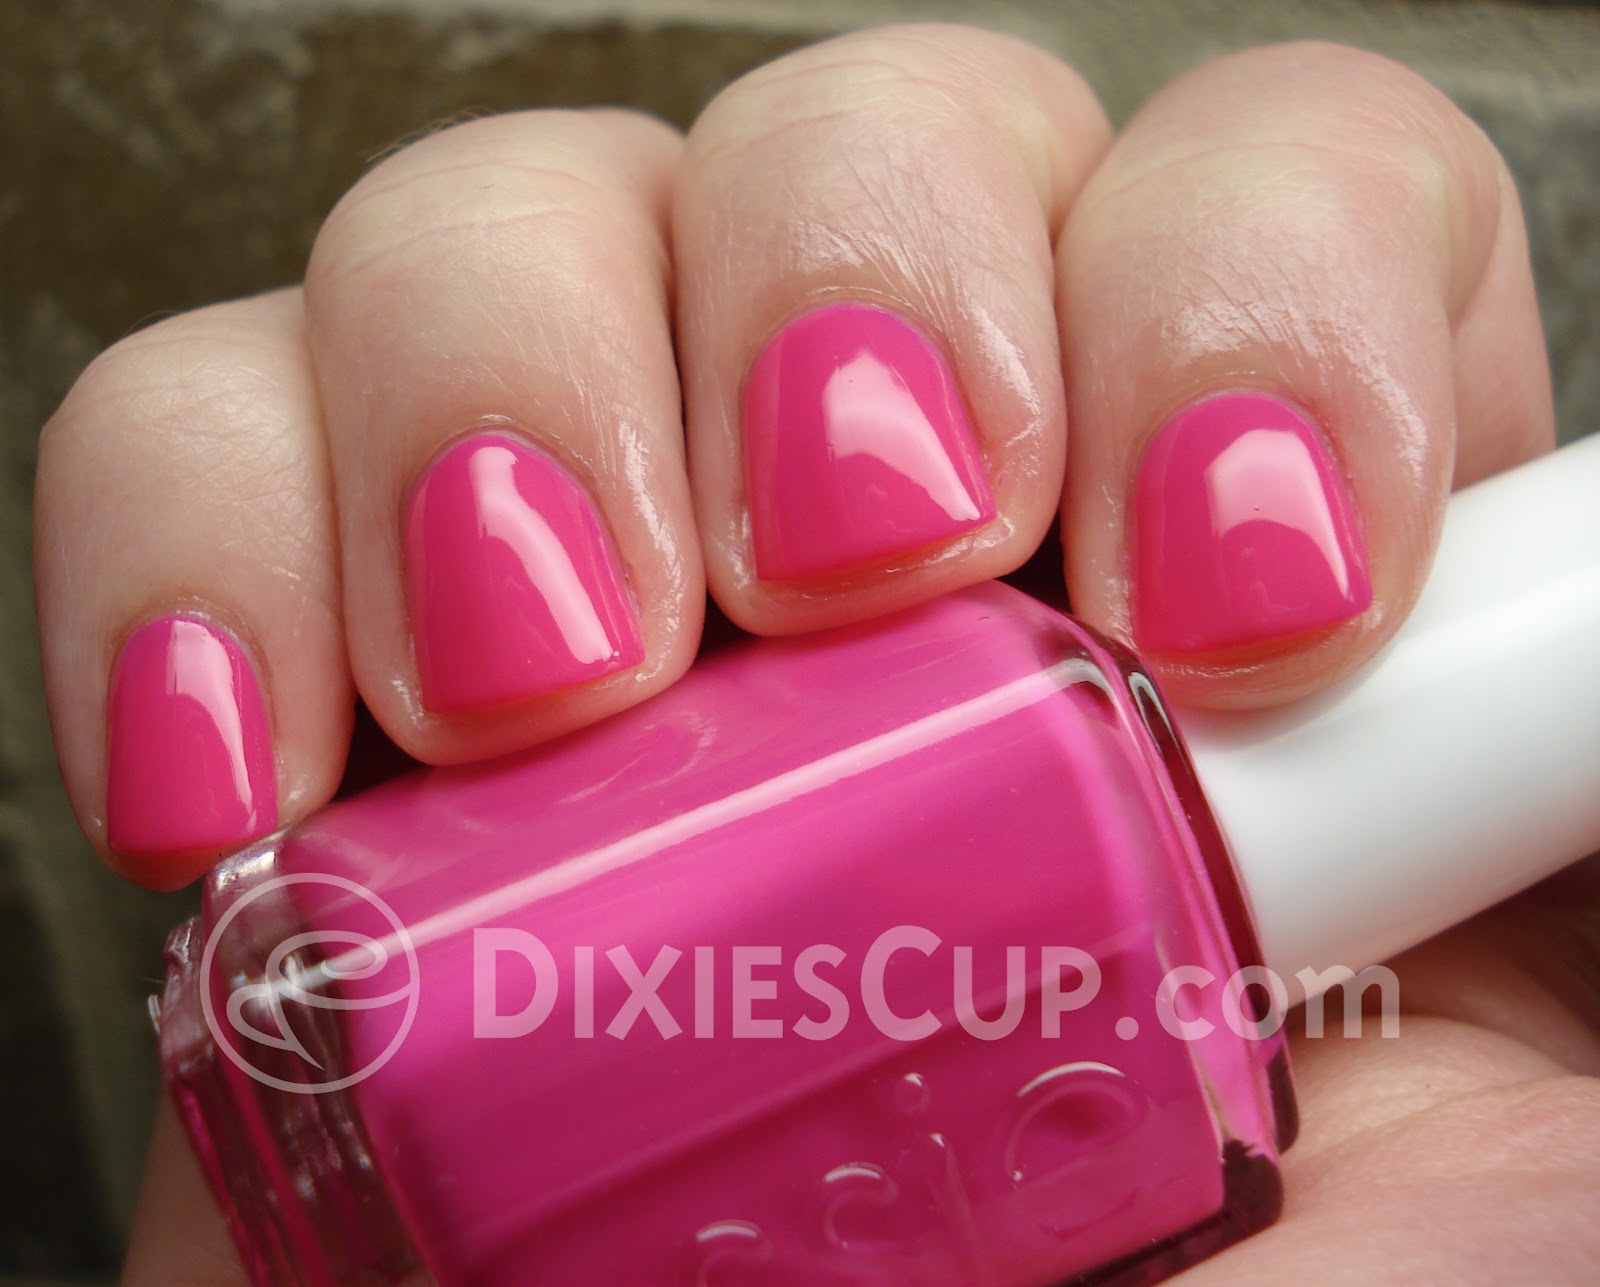
I stumbled upon a small collection of polishes that Essie released sometime between Spring and Summer this year. Poppy-Razzi is a collection of four very pretty neon pink and orange shades. When I purchased them I immediately wanted to share them with everyone!

I decided to do a giveaway to celebrate the fact that I've kept at my blog for as long as I have. There have definitely been moments when I thought I might not continue posting, but then I get compliments and/or new followers and that motivates me to keep going. I also got hundreds of hits on my blog recently because of the OKC Thunder fingernail art I created. Apparently if you google "OKC Thunder Fingernails", my blog is the first result. Makes me feel kinda famous...? :-P Okay, now I'm rambling...

First I'll be posting photos of the polishes I'm giving away, as well as swatches of the polishes so you know what you're entering to win. There will be a BUNCH of pictures. Keep reading to get the details about the giveaway!

Essie's Poppy-Razzi Collection: Lights, Camera, Action, Bazooka

Better shot of the colors

All of the polishes above would be what I consider neons. They're not neon like highlighter green neon, but they are quite bright and eye-catching. Lights tends to lean more cream/jelly, while the other three colors are definitely jellies. They all dry to a satin/matte finish, so they all require a top coat to make them as shiny as they are in my photos.

Essie - Lights


Lights is the first polish in the collection. As I mentioned above, it is a cream/jelly. It has a good formula that applies easily, and what you see in the photos above is two coats of Lights with one coat of Sally Hansen Insta-Dri Anti Chip Top Coat. 

I'm not gonna lie. I am NOT a fan of pink. You won't see me wear pink nail polish very often at all. I'm just not drawn to it. And I honestly only purchased this one because I liked the other 3 colors so much, so I thought what the heck? However, once I had it on my nails, how could I not like it? Look at how pretty it is! I could see this on my toes, too. :) Anyway, moving on.

Essie - Camera


Camera was difficult to photograph. Actually, so were the next two polishes as well. It could be because they are jellies, it could be my lighting, it could be my camera... maybe all of the above. But I would describe this color as more of a coral reddish pink than it appears in the photos. The color you see in the bottles is closer to the true color. Whatever the case, it is a very pretty shade that turned out to be my favorite from the collection.

It didn't apply quite as smoothly as Lights, but it wasn't a total pain either. The photos above are two coats of Camera with one coat of the same top coat.

Essie - Action


Ugh!! I wanted SO bad for Action to be awesome. It is such a pretty tangerine shade. It looks kinda awesome in the photos, but the formula of the bottle I purchased for myself is horrible. I'm not sure if it is just my bottle, or if all of them are like this. I can't imagine that Essie would release such a bad bottle of polish on purpose. Right?

Anyway, when I went to apply the first coat, I was wiping the brush on the neck of the bottle and I noticed that the polish looked like a very clearish orange color with milky-looking streaks running through it. I thought, "this can't be right!" So I shook it vigorously for a few minutes, but with no luck.  :( The polish didn't change at all. 

I decided to go ahead and paint it on anyway, hoping that it might turn out better than it was looking inside the bottle. The first coat was stupid. Streaky and gross. Nevertheless, I continued with the second coat, and it DID improve a little. Finally, with the third and final coat, it looked like the decent polish that you see in the pictures above. So the photos above are 3 coats of Action with one coat of top coat. I wore this polish for a day or two, and it didn't last as long as the others did. Sorry I didn't have a lot of good things to say about this one.

Essie - Bazooka


Bazooka is the last polish of this collection, and thank GOODNESS I only have nice things to say about this one! This polish was nice and pretty after two coats and the formula was just fine. It is a pretty shade of dark orange that leans to red. I think that is all I really have to say about this one, after all the bad things I said about the previous one!

Now that you've seen all the pretty polishes, be sure to enter the giveaway below to win your own brand new, unused bottles of the same colors. :)


Rules of Giveaway


This giveaway will end at 12:01 am (EST) on Monday, July 23rd 2012.
It is open to U.S. Residents only. Sorry to anyone this excludes. :( I'm just not quite sure what it requires to mail nail polish to other countries and I don't want to promise anything I can't deliver. I promise I'll work on that.


How to Enter

All you have to do to enter is fill out the Rafflecopter form at the end of this post. There are a total of 4 possible entries to be earned. The first two fields are mandatory and for filling them out, you will receive two entries. The other two are optional and will each earn you +1 entry, but obviously the more entries you have, the higher your chance of winning.

In case you are unfamiliar with the process of following a blog via Google Friend Connect, it is really quite simple. You just have to have an account with Google. (There are other ways to follow besides with a Google account, too) If you have a gmail account, BAM! You're already there. If not, it's pretty simple to create an account. Then click on the little blue button on the right side of this page that says "Join this site". It will likely prompt you to log in. Then you just select to "follow publicly".

Thank you and good luck!

a Rafflecopter giveaway

Monday, June 4, 2012

OKC Thunder Fingernails: China Glaze - Splish Splash & Orange You Hot?

Hello Thunder Fans (and everyone else)!

After posting my last "OKC Thunder Fingernails" manicure, I stumbled upon several other far superior versions of Thunder manicures. I felt a little silly for calling my plain blue fingernails a themed manicure, so I'm back again with some improvements. 


My best rendition of the basketball in the Tunder's logo
I started by applying 2 coats of China Glaze's Orange You Hot? to my thumbnail. After that was dry, I used a smaller brush to paint the blue portion (China Glaze's Splish Splash) you see in the photo above. I then used a fine-tipped nail art brush I purchased from Sally's Beauty Supply to draw the black lines of the basketball and then outlined it in white to mimic the logo as much as I could. It's not perfect, but I think I did pretty good for my first try at free-hand nail art.

Other thumb
The black lines were done with Pure Ice - Black Rage, and the white outline was done in Finger Paints - Paper Mache.

China Glaze Splish Spash & Orange You Hot? from the Summer Neons 2012 Collection
Here's a shot of the rest of my hand. I did an accent nail in orange with three different colors of polka dots using my dotting tool (also purchased from Sally's).

Other accent nail
 The dark color is Essie - Midnight Cami. It is actually a dark blue, but it always looks black. The middle color is Splish Splash. And the last color is Pure Ice - Silver Mercedes.

After letting things dry as long as I could stand it, I topped everything off with Sally Hansen's Inta-Dri Anti-Chip Top Coat. Tada!

Also: The Thunder won again! :) :)

Thanks for stopping by...

--Dixie

Saturday, June 2, 2012

Revlon - Indigo Night (aka OKC Thunder Nails!)

Heyyyyyyy there, good lookin'!

Today I have a pretty blue manicure for you all. As you can tell by the photo below, it may or may not have been motivated by the OKC Thunder game tonight. No, I'm not going, but I WILL be rooting for them from my comfy chair at home. :)

Modeling my manicure :)

I realized after I started going through my photos to pick which ones I would put on this post... I've posted about a different Revlon blue nail polish that is similar to this one. Do you remember Revlon - Royal? I mean, how could you forget? Look at it!

The difference between these two polishes is that Royal is much deeper than Indigo Night. Royal is also very much a jelly polish, and Indigo Night is more of a crelly (for those not fluent in nail polish speak, that's a mix between a cream & jelly). 


With flash
Indigo Night applies very much like the other polish I have posted about from this particular Revlon Colorstay line, Revlon - Velvet Rope. It goes on smoothly, doesn't streak, self-corrects, etc, etc. I did a little clean up, but that was mainly because I got a little heavy-handed and smeared the polish too far past my nail tips. Oops.

Without flash
All of these photos have one coat of base coat, two coats of Indigo Night, and one coat of Sally Hansen Insta-Dri Anti-Chip top coat (which promises to dry your nail polish to the touch in 30 seconds, and it does as it says).


Macro shot without flash
Thanks for stopping by! And GO THUNDER!

-Dixie

Thursday, March 8, 2012

Freehand Cloud Nails

What's up, Homies? :)

Today I have an attempt at some freehand nail art. A favorite nail blog of mine has great tutorials... and I am fairly pleased with how mine turned out. I could definitely improve my technique a little, and maybe choose a different color combo so it stands out a little more, but I think it looks pretty dang good for my first attempt!


With flash.


Close-up without flash.


The colors I used: 
LA Splash - Blowfish Fushia
Sally Hansen Insta-Dri - Lightening
Sally Hansen Xtreme Wear - Sun Kissed

The orange color, Sun Kissed, needed three coats. It applied a little streaky and blobby, but it smoothed over after a good top coat of Seche Vite. 

On my accent finger, I applied two coats of Lightening, then I used a small paintbrush to do the cloud designs. You can visit Nailside's blog to view the tutorial. 

That's all I have for now! Thanks for stopping by. 

-Dixie

Sunday, January 29, 2012

Fingernails with Facial Hair

Okay. I'm slightly embarrassed to share this fiasco of a paint job with you, but I've decided to share all of my adventures including the good, the bad, and the ugly.

Today I have an attempt at a fun french manicure with some moustache decals. I ordered these decals from My Crazy Worlds' Etsy shop. 40 decals for $3.50, and shipping is free! (And you can pick colors other than black)


As I mentioned, I'm not terribly happy with the results. I was in a hurry to do this, so I didn't use any sort of base coat. I should have used something like a light pink. Instead I just used my Sally Hansen French Manicure Pen on top of my bare nails. Then I placed the decals on my thumb & index finger with tweezers. Then I applied a clear, fast-dry topcoat. From far away, it was cute. But up close my cuticles are gross and dry, and the top coat started peeling the next day (probably because it had nothing to stick to).


This pen is handy for quick french manicures, but it is difficult to make straight lines even with your dominant hand. It looks much nicer if you use tape to make clean lines, in my opinion. 


My decals and the business card that came with it. 

I still have lots of decals left, so I plan to play around with these some more. I promise to do a better job next time! :)

Thanks for stopping by!

-Dixie